I think what had been holding me back from building one was a lack of a good use case to build a "real/live service". The opportunity presented itself at one of my clients, and I decided to take it upon myself to build a working model. Essentially the problem case is the following:
- I have built a lot of IT automation (via Azure Automation) to simplify the execution of various tasks in the environment (refreshing environments, turning environments on/off, etc)
- The team consists of technical and non-technical folks
- We are looking for an easy way to surface this automation to the end users who need it
The original thought was to build a small web page that uses post forms and integrates with Azure Automation via webhooks. This would obviously work, but currently we use github for our internal documentation which doesn't lend itself well to this pattern. One of the other tools in the environment is slack. Everyone on the team is in the slack channel to facilitate discussions (we have teams in various areas around the world). So naturally, the idea of a slack bot built on Azure Bot Service with hooks into Azure automation came to mind. I'm hoping over the next several blog posts to detail out how I'm building this bot to satisfy this need. Full disclaimer, this is my first bot on Azure Bot Service, so hopefully you are willing to learn with me!
With the preamble out of the way, the goal of this post is talk about getting started on the Azure Bot Framework. The documentation is actually quite good, and this post follows closely the instructions in the bot builder quickstart for .NET.
There are three main tasks to accomplish here
- Install prerequisites
- Build/Test the standard bot template
- Publish/Register the bot
Install prerequisites
First thing you will need is Visual Studio 2017. You can download it from here. If you already have it, take a moment to ensure that everything is updated. If you do not, set it to download and take the rest of the day off as it installs.
Next, you can download the bot template. It is interesting that this isn't distributed via the online templates in VS2017. Once you have it downloaded, you need to put the zip file in the following location
%USERPROFILE%\Documents\Visual Studio 2017\Templates\ProjectTemplates\Visual C#\Lastly, you will want to download the bot framework emulator. This emulator will allow you to test your bot locally before publishing it to the cloud.
Build/Test the standard bot template
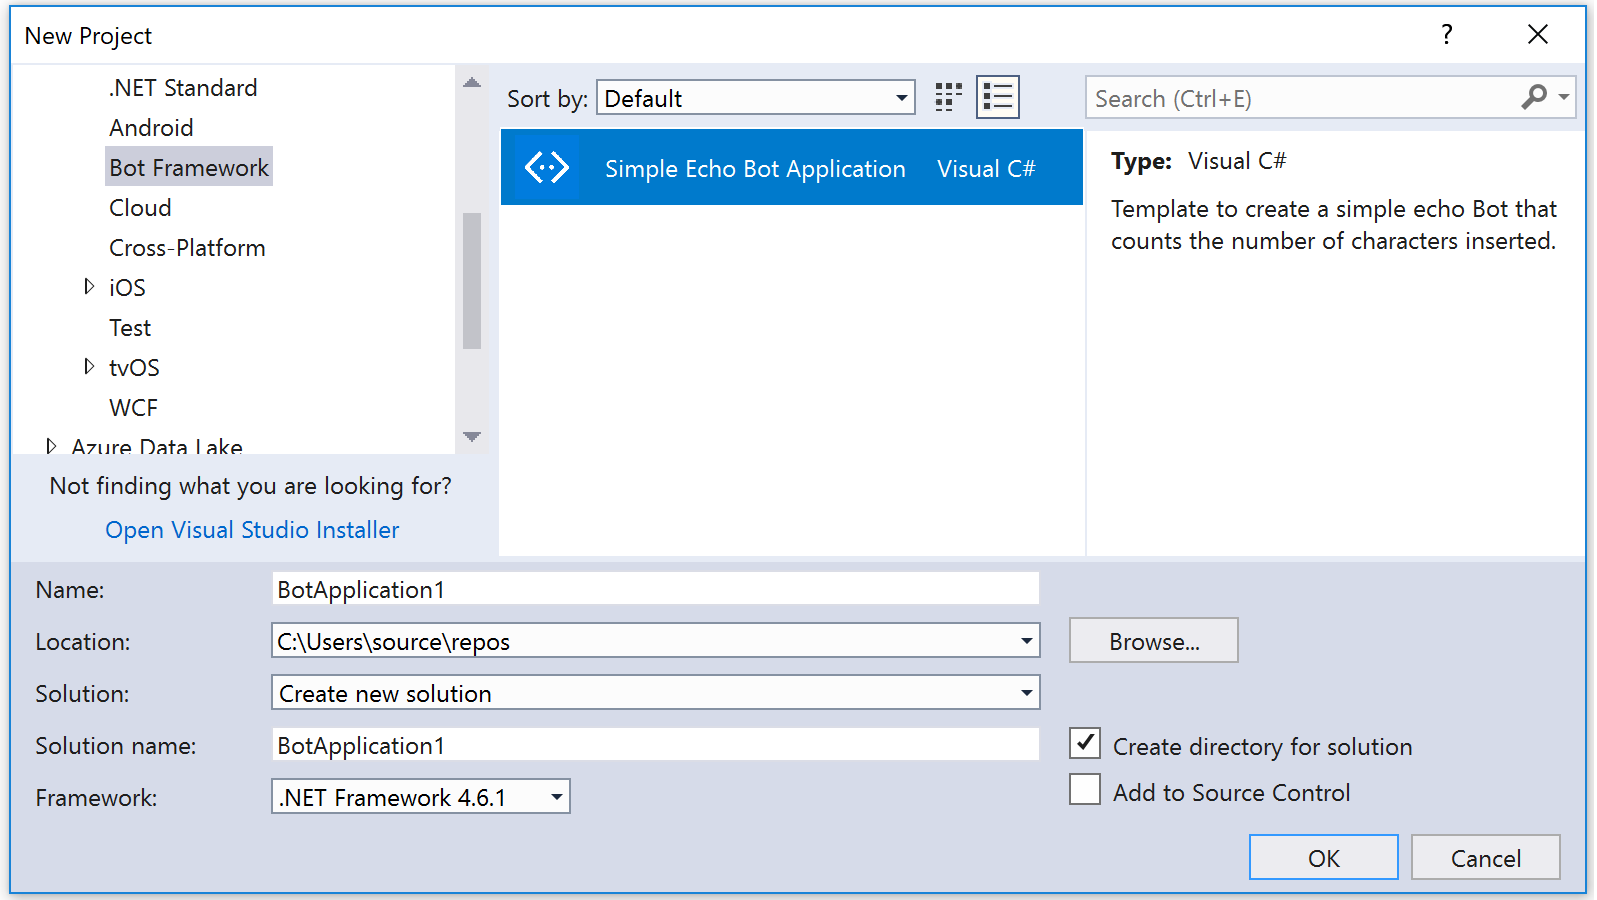
If you did everything correctly in the previous step, you should now be able to open VS2017 and create a "bot application" project type.
Once created, have a look at the code. Bots are built upon the WebAPI framework, so if you have some experience with that it will be pretty easy to navigate. The root logic for the bot is in the MessagesController.cs.
await Conversation.SendAsync(activity, () => new Dialogs.RootDialog());
This line of code above in the Post method essentially creates a new conversation, and calls a dialog to handle it. Feel free to explore the code further.
You can execute a build in a similar way to any other project, which should start up the debugger and launch Edge which is pointed at the correct endpoint. There isn't much you can do on that page, which is where the bot framework emulator comes in.
Launch that application, and then configure it to hit your local endpoint. Type a message and see the response.
Be sure to update it with the port you are working on and click connect
Publish/Register the bot
Now that you have tested your bot, you may want to publish it to the cloud in order to use it in more channels than the bot emulator locally. There are a couple of steps here, most of which are documented here.
The first thing you are going to want to do is register your bot. In this step, you will need to provide a bot name, be assigned an app id, create an app password and provide a bot url. The detailed instructions were fairly accurate. It is important to note that you might not know the URL of your bot before you register it. You can leave it blank and come back to it.
Once you have registered your bot, copy the bot name, app-id, and app password (that you created) and populate them in the web.config file of your bot application.
Please note that the botid is simply the name of your bot. After you have done this, right click on your project and click on publish. The wizard will walk you through connecting to your Azure account and selecting a resource group, etc for placement.
After this is published and created, you will need to update your messaging endpoint configuration in your registration page. If you are using the bot template, do not forget to add the "/api/messages/" to your URL path.
Once you have that done, click the large "test" button in the top right hand corner of the bot framework page to interact with your bot.
Hopefully you enjoyed that walk through!


No comments:
Post a Comment